Can't think of a gift for Mom?
Then, here are some DIY gifts, ideas & gift bags
that I would to share with you~!
(I gathered different information from
different sites & the pictures from
below aren't mine)
D.I.Y. (Do It Yourself) Gift Ideas for Mom! ^^:
>>Crocheting/Cross Stitch/Stiching<<
**Hearts Hot Pad**
**Heart Cat**
**Hearts Border with LOVE**
**D.I.Y. Toiletries Bag**
>>Cooking<<
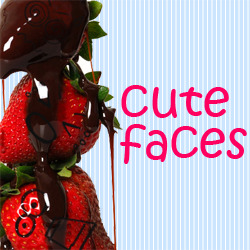
**Cute Breakfast for Mom ~!:**
Cut waffles into heart shapes using cookie cutters. Decorate with fresh strawberries, sliced from top to bottom so they resemble small hearts. Top the waffles off with whipping cream and add a sprinkle of ground cinnamon.
Make pancakes by placing a large heart-shaped cookie cutter on the griddle and pouring in the pancake batter. When pancakes are ready to flip, remove the cookie cutter. If you feel really creative, drizzle the pancake batter onto the griddle so it forms an "I" and a "U". When you serve this to mom, place it on the plate so it reads: "I (Heart) U"
Make mom a few fried eggs by placing them inside a large cookie cutter, when the eggs harden remove the cookie cutters. Don't forget to cut heart shapes out of the toast to go along with the eggs.
Serve mom your special meal on a tray, place a single flower in a vase along with coffee, tea, milk (whichever she prefers) and place your Mother's Day card along the side of the tray along with a cloth napkin. Ask mom if she'd like to read the paper, watch TV, read a book, etc while she's eating.
**Recipes for Desserts for Mom ^^:**
Prepare a favorite recipe for cookies and cut out shapes using different cookie cutters: Hearts, "X"s and "O"s, etc. Top cookies with red or white icing, red hots, candy hearts, Hershey kisses, etc.
Make a heart-shaped cake for Mother's Day by baking a two-layer cake using your favorite cake recipe (one layer goes in an 8" round pan, and one goes in a 8" square pan). When cake has completely cooled, cut the round cake in half. Place the square cake in a diamond shape and place each semi-circle against the top sides of the triangle to resemble a heart. Cover the entire cake with red, white, or pink frosting. Put on the finishing touches by either using candy hearts, Hershey kisses, cake decorations, or writing messages such as "I love you mom", a cute saying or a short poem honoring mom. (the cake will be oversized, so make a platter by covering a large piece of cardboard with tinfoil)
**Ideas for Dinner Recipes for Mom ^^:**
If you decide to make mom a special dinner for Mother's Day, use cloth napkins complete with napkin rings. Buy a flower arrangement for the centerpiece. Place a few unscented candles on the table to make the occasion even more special for mom.
For lots of ideas for different recipes,
click here
>>Arts & Crafts:<<
**My care for Mom:**
Draw a picture on construction paper. Underneath the picture write a poem for mom to let her know how much you care. Another idea is to write mom a letter. Start with the words
"I Love You Because"then write in the reasons why you love your mom.
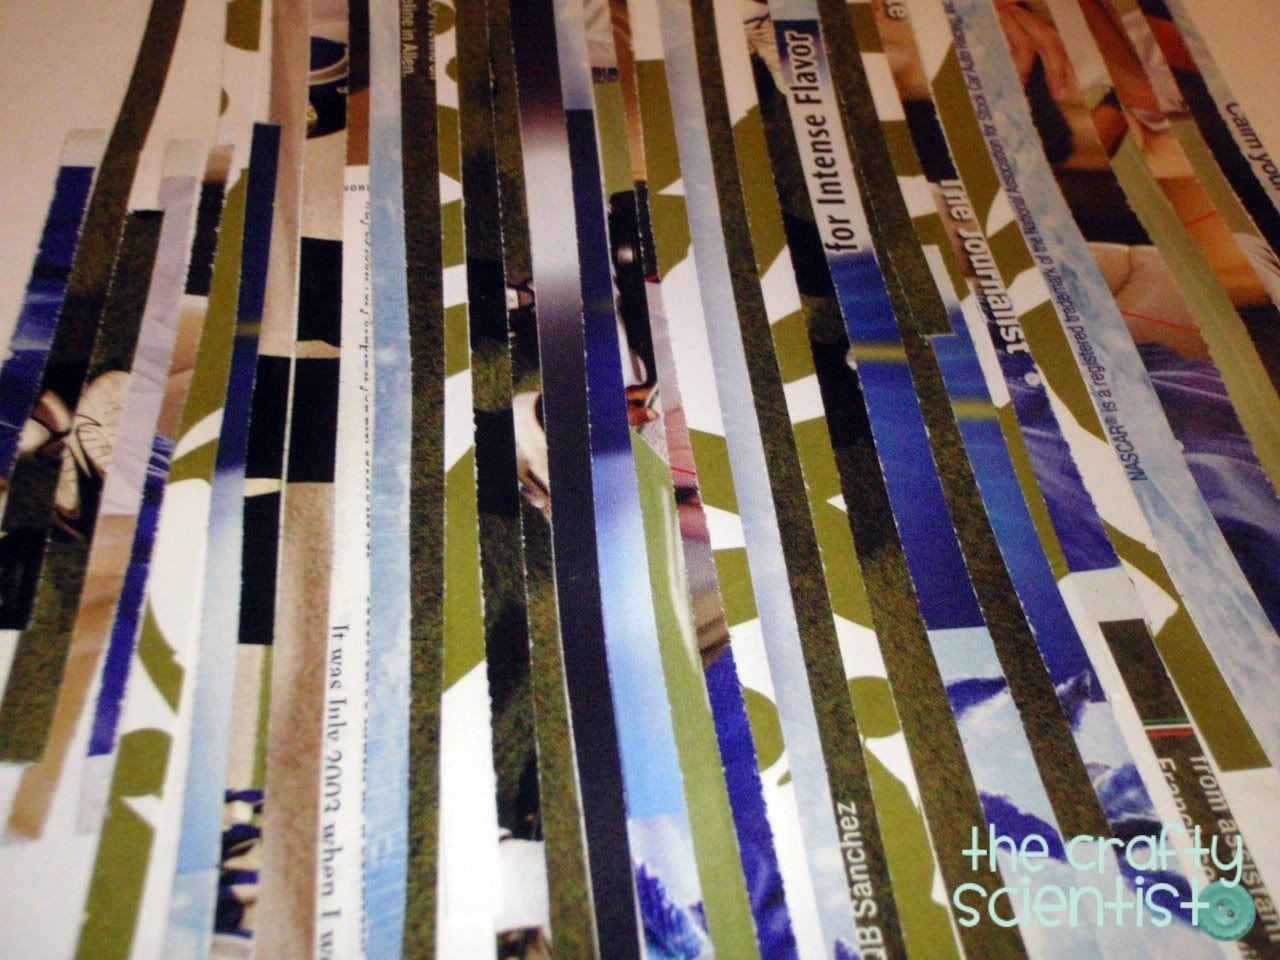
Create your own Mother's Day card by looking in old newspapers and magazines and cutting out words and phrases that can be combined to make a special message to mom. Paste the message on a big heart cut from red construction paper.
Surprise your mom on Mother's Day by tidying up your room, doing your homework, walking the dog, cleaning the bird cage, fish tank, etc.
>>Recycled D.I.Y. Project/s<<
**Sassy Bangles for Mom:**
Ecofact:
Newspaper can be recycled up to seven times before
its fibres become too short to make paper. Recycling paper creates
50 per cent less pollution than making new paper.
What you'll need:
❒Cardboard
❒scissors,pencil,ruler
❒tape, newspaper
❒Flour & Water Paste
❒paintbrush
❒PVA glue,
❒glossy magazines
❒varnish (optional)
How to make Flour & Water Paste:
1.Measure out one part of flour to about two
parts of water. For example, use 125 grams of flour
& 450 millilitres of water. Mix 4 tablespoons of salt
with the flour to prevent the paper-mache going mouldy.
2. Pour the water over the flour. Mix with a wooden spoon until
you have a smooth paste without lumps-- it should look like thick glue.
If it is too thick, add a little more water. If it is too thin,
add some more flour
How to make Bangles:
1. Cut a strip of cardboard as wide as you want your bangle &
long enough to fit over your hand or the hand of the person who
will wear it. Use a pencil & ruler to draw straight lines as a cutting guide
2. Form a circle from the cardboard strip and tape the ends together.
The circle should be a little large so there's room for the papier-mache
3.Mix up a flour & water paste.Tear some
newspaper into long strips , about the width
of a finger. To make the bangle strong,
tear some wider chunks as well.
4. Cover the strips with paste & wind them
round the bangle. Make sure the newspaper strip
is smooth, with no bumps, & well coated in paste.
5.To make the bangle chunky, scrunch up a
sheet of newspaper into a thick strip & paste it round the
outside of the bangle.
6.Cover the outer chunk with smaller strips
of newspaper until it is smooth. Let the
bangle dry overnight. Once dry, it will be hard & firm
7. Cut out strips from a glossy magazine & dip
it in PVA glue then wrap them round the bangle.
Once the glue is dry, our bangle is ready to wear
Tip: For a really shiny finish, ask a grown-up to cover
your bangle with a coat of varnish
You can decorate your bangles by
painting them or by adding pictures from magazines,
such as flowers or butterfly shapes
>>WRAPPING YOUR GIFTS (D.I.Y.):<<
Now that you have made your D.I.Y gifts...If you
want you can wrap them...or even put them in bag
to make them look like a surprise gift ^^
** D.I.Y. Heart Gift Bag:**
**D.I.Y. Gift Bag**
or
"Click Home"
|
|
V


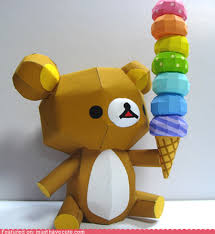
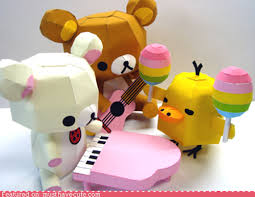
 Rilakkuma Bear Papercraft~!